Capturing special memories while visiting a Disney theme park is effortless with an autograph book. How delighted is your child when they walk up to their favorite character brought to life? Their eyes twinkle, their hearts race and you can see the sheer delight on their faces. Heck, this happens to me too. Meeting a Disney character is just like meeting a real life celebrity. Capture that moment with a picture and an autograph.
Disney DIY Autograph Book
(affiliate links are use in this post for the correct supplies to make this project)
Supplies needed for DIY Autograph Book
Post Bound Photo album (10 pages) holds 20 signatures
Red Duct Tape
Yellow Paint
Letter Size White Card Stock
Washi Tape
Hole Punch
Directions how to make a Disney DIY Autograph Book
First take apart the photo book. I purchased a black photo book that holds 5X7 pictures at Hobby Lobby, but I have links from a similar one you can purchase from Amazon. Mine was pretty simple to take apart, just unscrew the screws.

Next cut the letter sized white card stock in half lengthwise. A total of 5 sheets makes 10 pages. This makes two sheets for signatures and fits perfectly inside the photo book. The signature pages are a little smaller than the plastic photo pages to make it east to flip to a signature page.
Line up a photo page with a sheet of cut white card stock. Then punch a couple of holes to fit in the photo book.
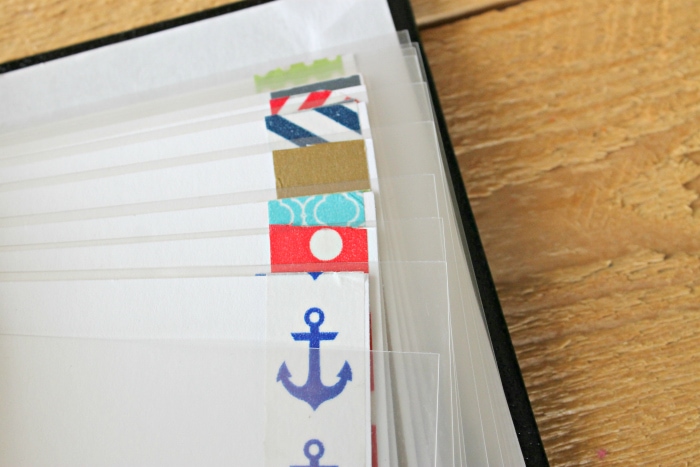
Now time to make it personal and decorate the edges of each page with some washi tape. Feel free to use what you already have on hand. We were going on a Disney cruise, so I made mine with a nautical theme.
Let’s load the autograph book. Alternate photo page with cut white card stock page to load the album.
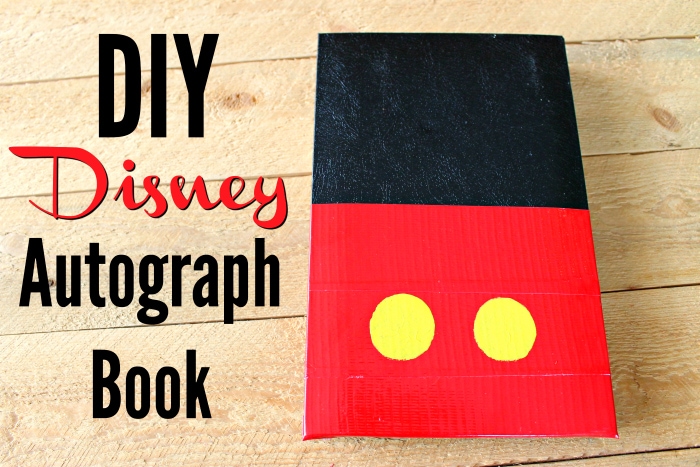
Once the pages are loaded, it is time to decorate the front. The possibilities are endless at this point. I wanted to keep it really simple and use a Mickey Mouse theme.

Measure and cut red duct tape to go around the front of the album about half way up on the front.

Next add two round circles of yellow. Then the Disney DIY autograph book is complete.

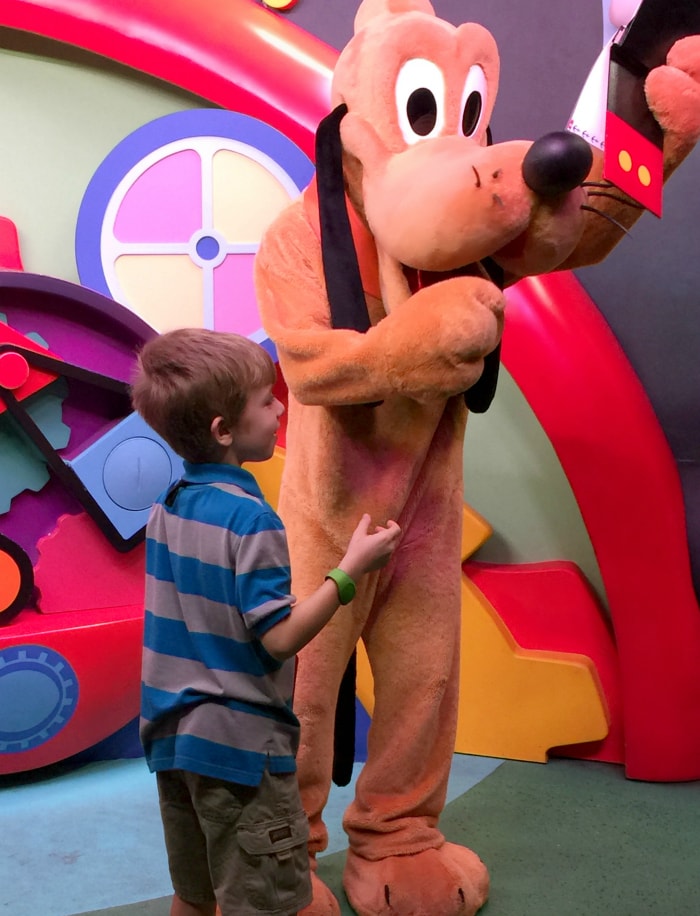
My little guy enjoyed taking this up to each of the characters we met on the trip. I even got to get an autograph and picture with Sofia! Now he has this little book as a keepsake to remember our fun trip.
Want to know the secrets to going on a Disney Cruise? I give you all the secrets to make it the best cruise ever!
What is your favorite thing to do on a Disney Trip?

I love it! You really can’t even tell that’s duck tape on there!! I’m impressed you got the circles perfectly. I’m not that good at cutting out! We just visited a few weeks ago, this year we didn’t do the books, I got giant letters for the characters to sign. I love any and all things Disney!
Thank you so much! I used a round sponge brush to get the perfect circles.