Do you want a fabulous centerpiece for your Thanksgiving table, but have no idea what do to? Here is a simple turkey craft that takes no time to whip up and costs only pennies to make.

How to remove a label from Wine Bottle:
1. First grab a wine bottle. You know the one you drank last night after the kids went to bed.
2. To easily remove the label from the bottle, soak in warm water. TIP: The best method I have found is to use one tablespoon of baking soda per two cups of warm water. Most labels peel off like butter with this method.
How to make a Tissue Ball {Turkey Tail}
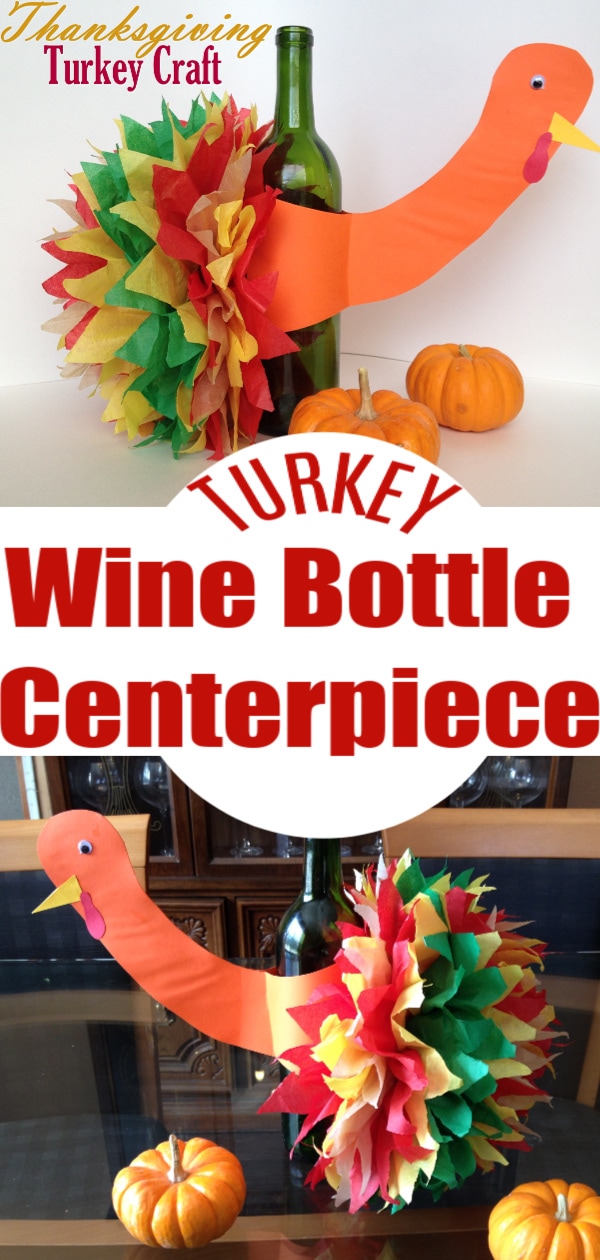
3. Now you have a sleek clean wine bottle. I like the green wine bottle for the turkey. You can choose to paint it if you want a brown or any color you want.

4. Gather about 7 or 8 Sheets of tissue paper in Thanksgiving colors. I chose red, orange and yellow for this craft. This will become the fluffy tail of the turkey.
5. Find a large area and lay the tissue paper out flat. Alternate the colors of about 7 sheets of tissue paper. Try to line them up as best as you can.

6. Fold in half lengthwise, then in half side ways.

7. Fold the paper over on itself about an inch. Now flip it over and fold it again accordion style.

8. Once this part is finished, feed the twist tie through the middle with a rubber band.

9. Cut the tip of the tissue paper to a sharp point to resemble feathers.

10. Now time to fluff up the tail feathers. Starting at with the top tissue paper fold up each sheet and fluff. Once you reach the middle flip it over and fluff from the bottom. Keep doing this until you have a fluffy ball of tissue.
11. Now we have a turkey tail.
How to make this Turkey Craft:

12. Time to make this turkey craft! Cut this simple head shape out of an orange or brown piece of paper. Click on the image to make larger and print for a turkey head template.

13. Glue on some googly eyes. Cut two small triangles for the beak and here is a printable for the little turkey waddle to cut out of red paper. No turkey is complete without the waddle.

14. Get pull the rubber band with the turkey tail around the bottle. Use some double sided tape to tape the turkey neck around the bottle to finish off this turkey craft.

How cute is that for a turkey craft? Wouldn’t he looks so cute on your table this thanksgiving?
In case you missed it last year or didn’t pin it. Check out my Hand Print Turkey Craft. Psst it went viral last year, so you want to make sure you pin it for this year!

This is such a great Idea! I featured it on my blog today;) http://saraella.com/2013/11/crochet-ribbon-bookmarks.html
I am so delighted to be featured on your blog. Thanks so much!
I love this! What a fun table centerpiece for Thanksgiving. I will have to pin this to keep in mind for many Thanksgivings to come. Thanks so much for sharing the tutorial and for linking up to Thrifty Thursday.